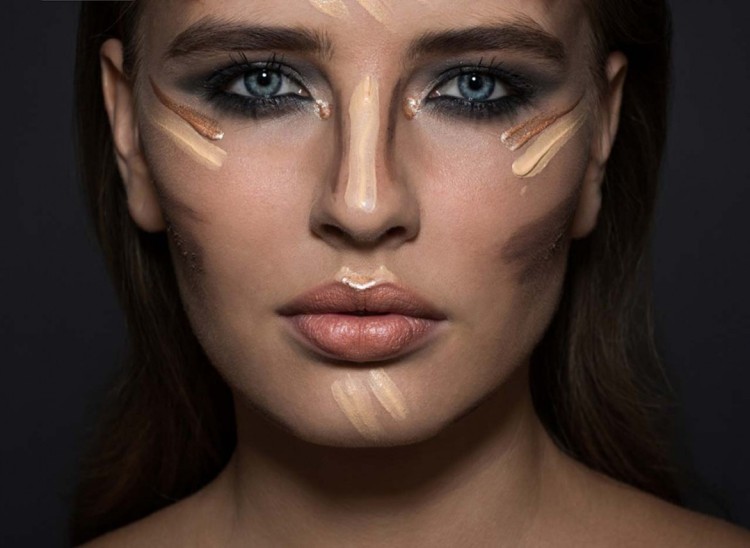
Launching this Spring, is Rodial’s Contour Makeup Collection that includes everything and anything that you could need to contour – even if you’re a beginner. I recently got the chance to preview the collection and I was amazed at how easy Rodial made the contouring process with their step-by-step guide. Now, the products are a tad more expensive than your average drugstore brand but you are paying for quality with Rodial. The collection ranges from $21 for the Smokey Eye Pens to $75/each for a compact.
After learning more about the products, I was eager to try the brightening products to create brighter and bolder eyes – check out my tutorial below. In addition, I have included Rodial’s step by step guide contouring guide further below for you to check out.
Have you ever tried Rodial products before? How did you like them?
How to Brighten Your Eyes with Rodial Cosmetics


Step 1: Using your fingers or the Rodial Eye Sculpt Brush, apply Rodial Eye Sculpt across your eye lid.
Step 2: Create an upside down triangle under your eye using Rodial Instaglam Retouch and blend it in.
Step 3: Touch up an blemishes or dark spots around the eyes with Rodial Instaglam Magic Pen Corrector.
Step 4: Use Rodial Instglam Magic Pen Eye Glow to create a beautiful glow. Apply the Eye Glow under your bottom lashes and on the inner corner of your eyes. Blend in with your fingers.
Step 5: Finish the look by applying Rodial Instaglam Illuminating Powder to your high cheekbones and down the center of your nose to create definition.
Step 6: Apply Mascara and eyeliner.
How to Contour with Rodial Cosmetics

Step 1: Apply primer and foundation.
Step 2: Using the Contour Sculpting Brush, lightly stroke Instaglam Compact Deluxe Contour Powder to the following areas:
- Underneath the cheekbones
- Underneath the jawline
- Across the top of the forehead
- Down the sides of the nose
- Into the eye socket line and inner eye where the bridge of the nose meets the brow bone
Step 3: Use the Powder Brush and lightly dust Instaglam Compact Deluxe Bronzing Powder to the following areas:
- Around the hairline to 1 inch above the temples
- Lightly across the cheekbones
- Lightly to the tip of the nose
Step 4: Finish with dapping the Rodial Hyaluronic Cheek Sculpt onto the apples of your cheeks and blend it in
