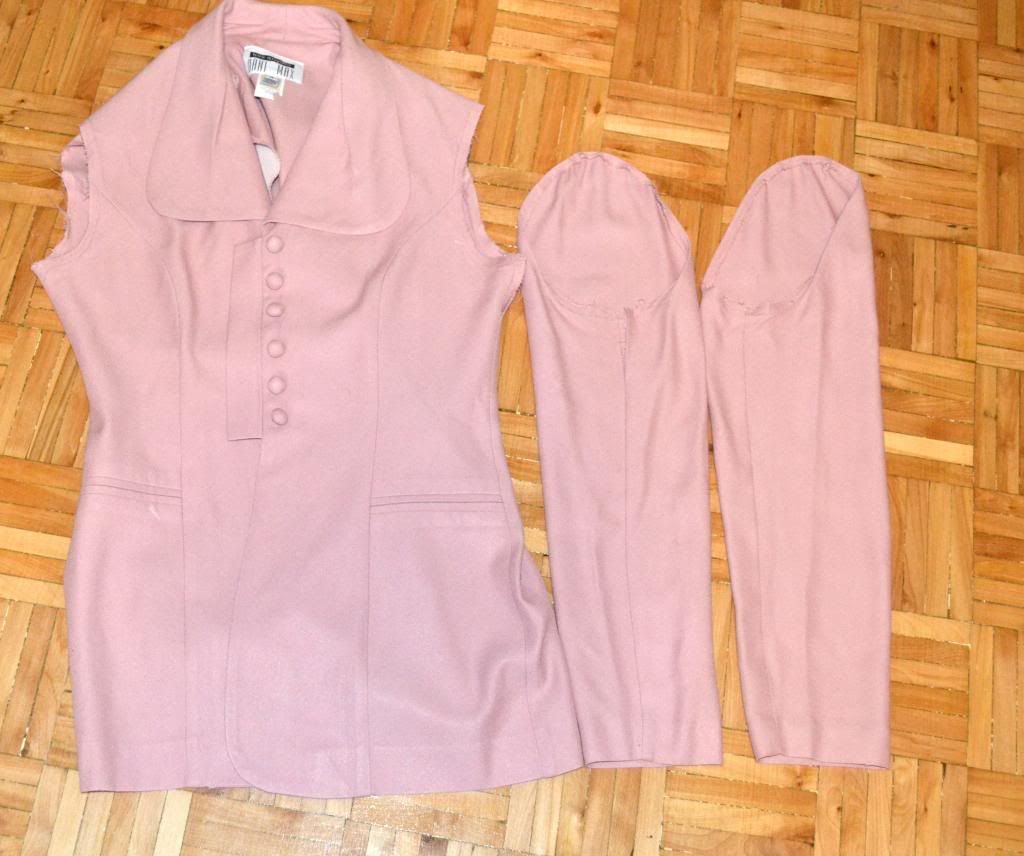
First part of this DIY is to take in the blazer and to start that use a sean ripper and remove the arms from the blazer. If your blazer already fits, you can skip all these steps! Yay!
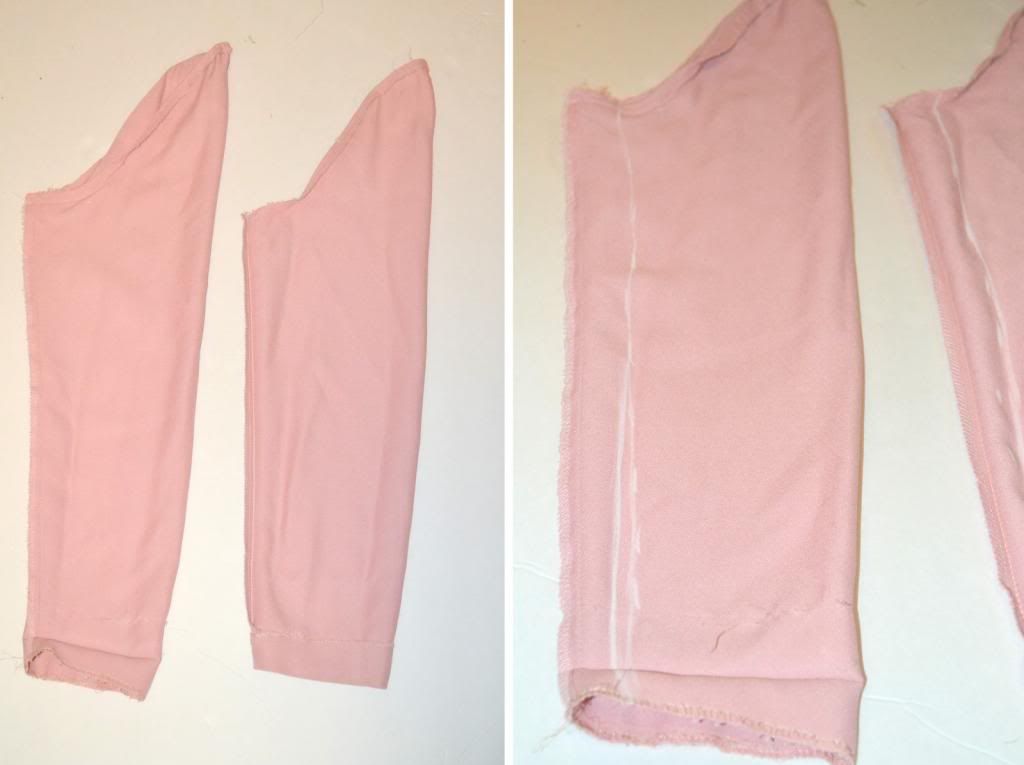
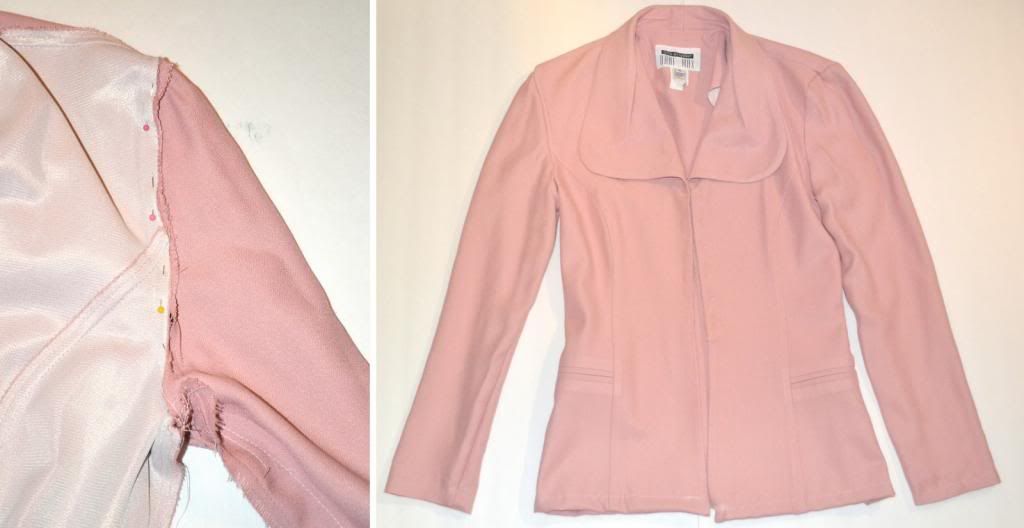
Mark how much you want to take in the arm, pin along those lines and sew. Cut off the excess material if needed.
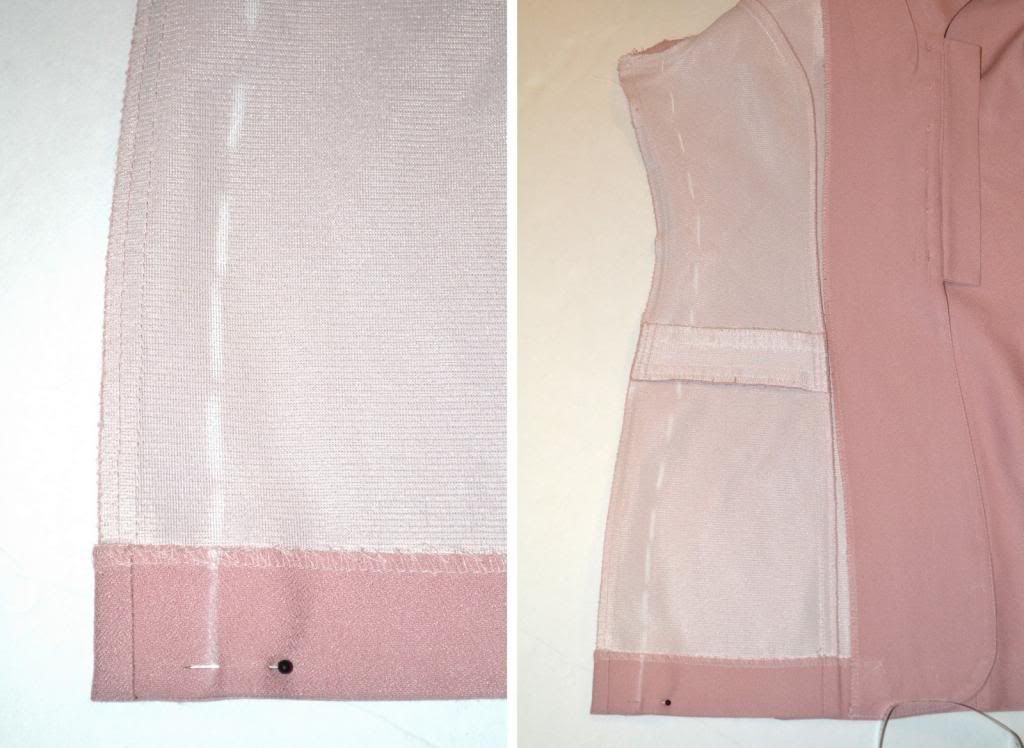
Next is to take in the sides, do the same thing as the arms – mark, pin and sew, cut of excess material.
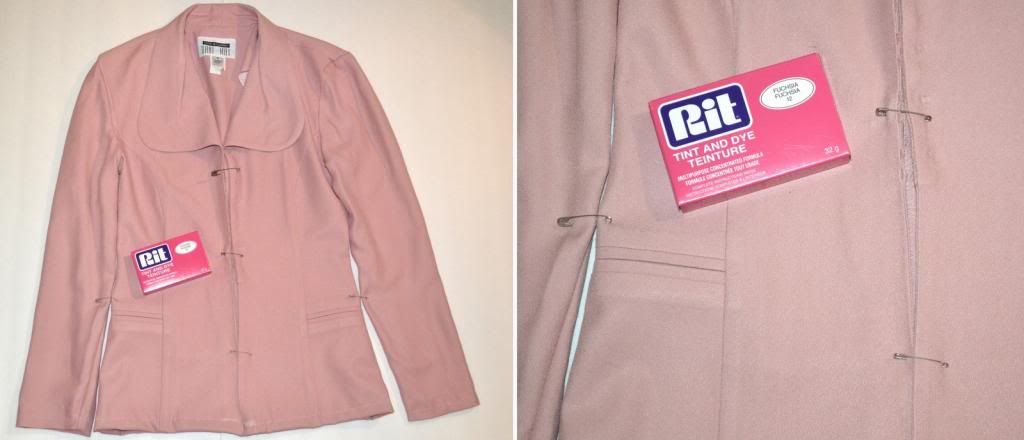
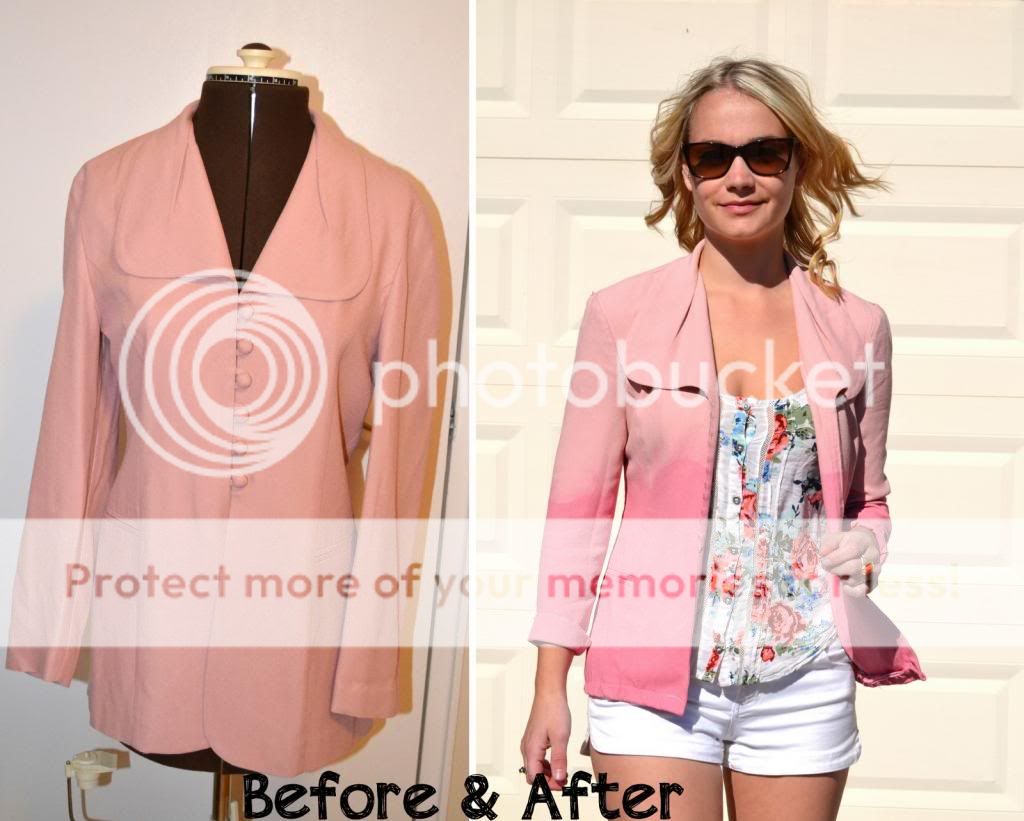
Now for the fun part! I used Rit Fuchsia dye. I pined the jacket together to make sure while I was dying the jacket one side wouldn’t end up sitting in the dye more that the other side.

Add about 2 tbs of the power dye to bucket of warm water. Put the jacket on a hanger and dip it into the dye. I left mine for about 10-15 mins then brought the jacket up more and just left the very bottom of the jacket in the dye to create a better ombre effect (see picture below).
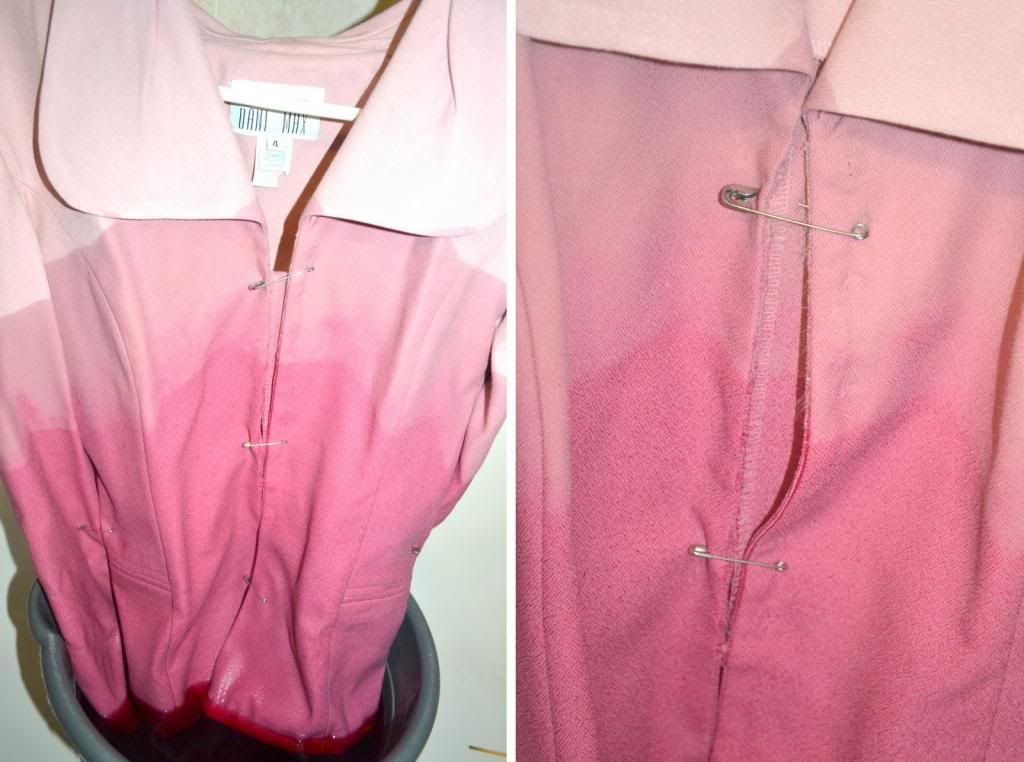
Once you are happy with the colour, rinse the jacket and let it hang to dry. Make sure to put a towel underneath it to catch any excess water. I didn’t do this one time and at my moms house theres still a big purple stain in a carpet – oops! Fully wash the jacket, separate of course so the dye would run on to everything else.



Wooow soo awesome!
http://teenfashioncorner.blogspot.com/
oh my goodness, this is the best DIY! It looks amazing
Francesca xo
http://www.yummylikecake.com
wow! I can’t believe you were able to do that! amazing
http://itsthelittlethingsblog.blogspot.com