Getting your family photos framed can be a lot of work. Where do I go? How long will it take? How much will it be? These are all questions I asked myself when looking to upgrade our front hall entry with family photos.
I recently made an online order for prints and I couldn’t believe how easy the process was. In the past I’ve had to go into a store, talk to a sales person, wait a few weeks and then drive back to pick them up.
This time, I placed an order online within 10 minutes and had my prints at my my door within a few days. Below are some quick steps on how you can do the same.
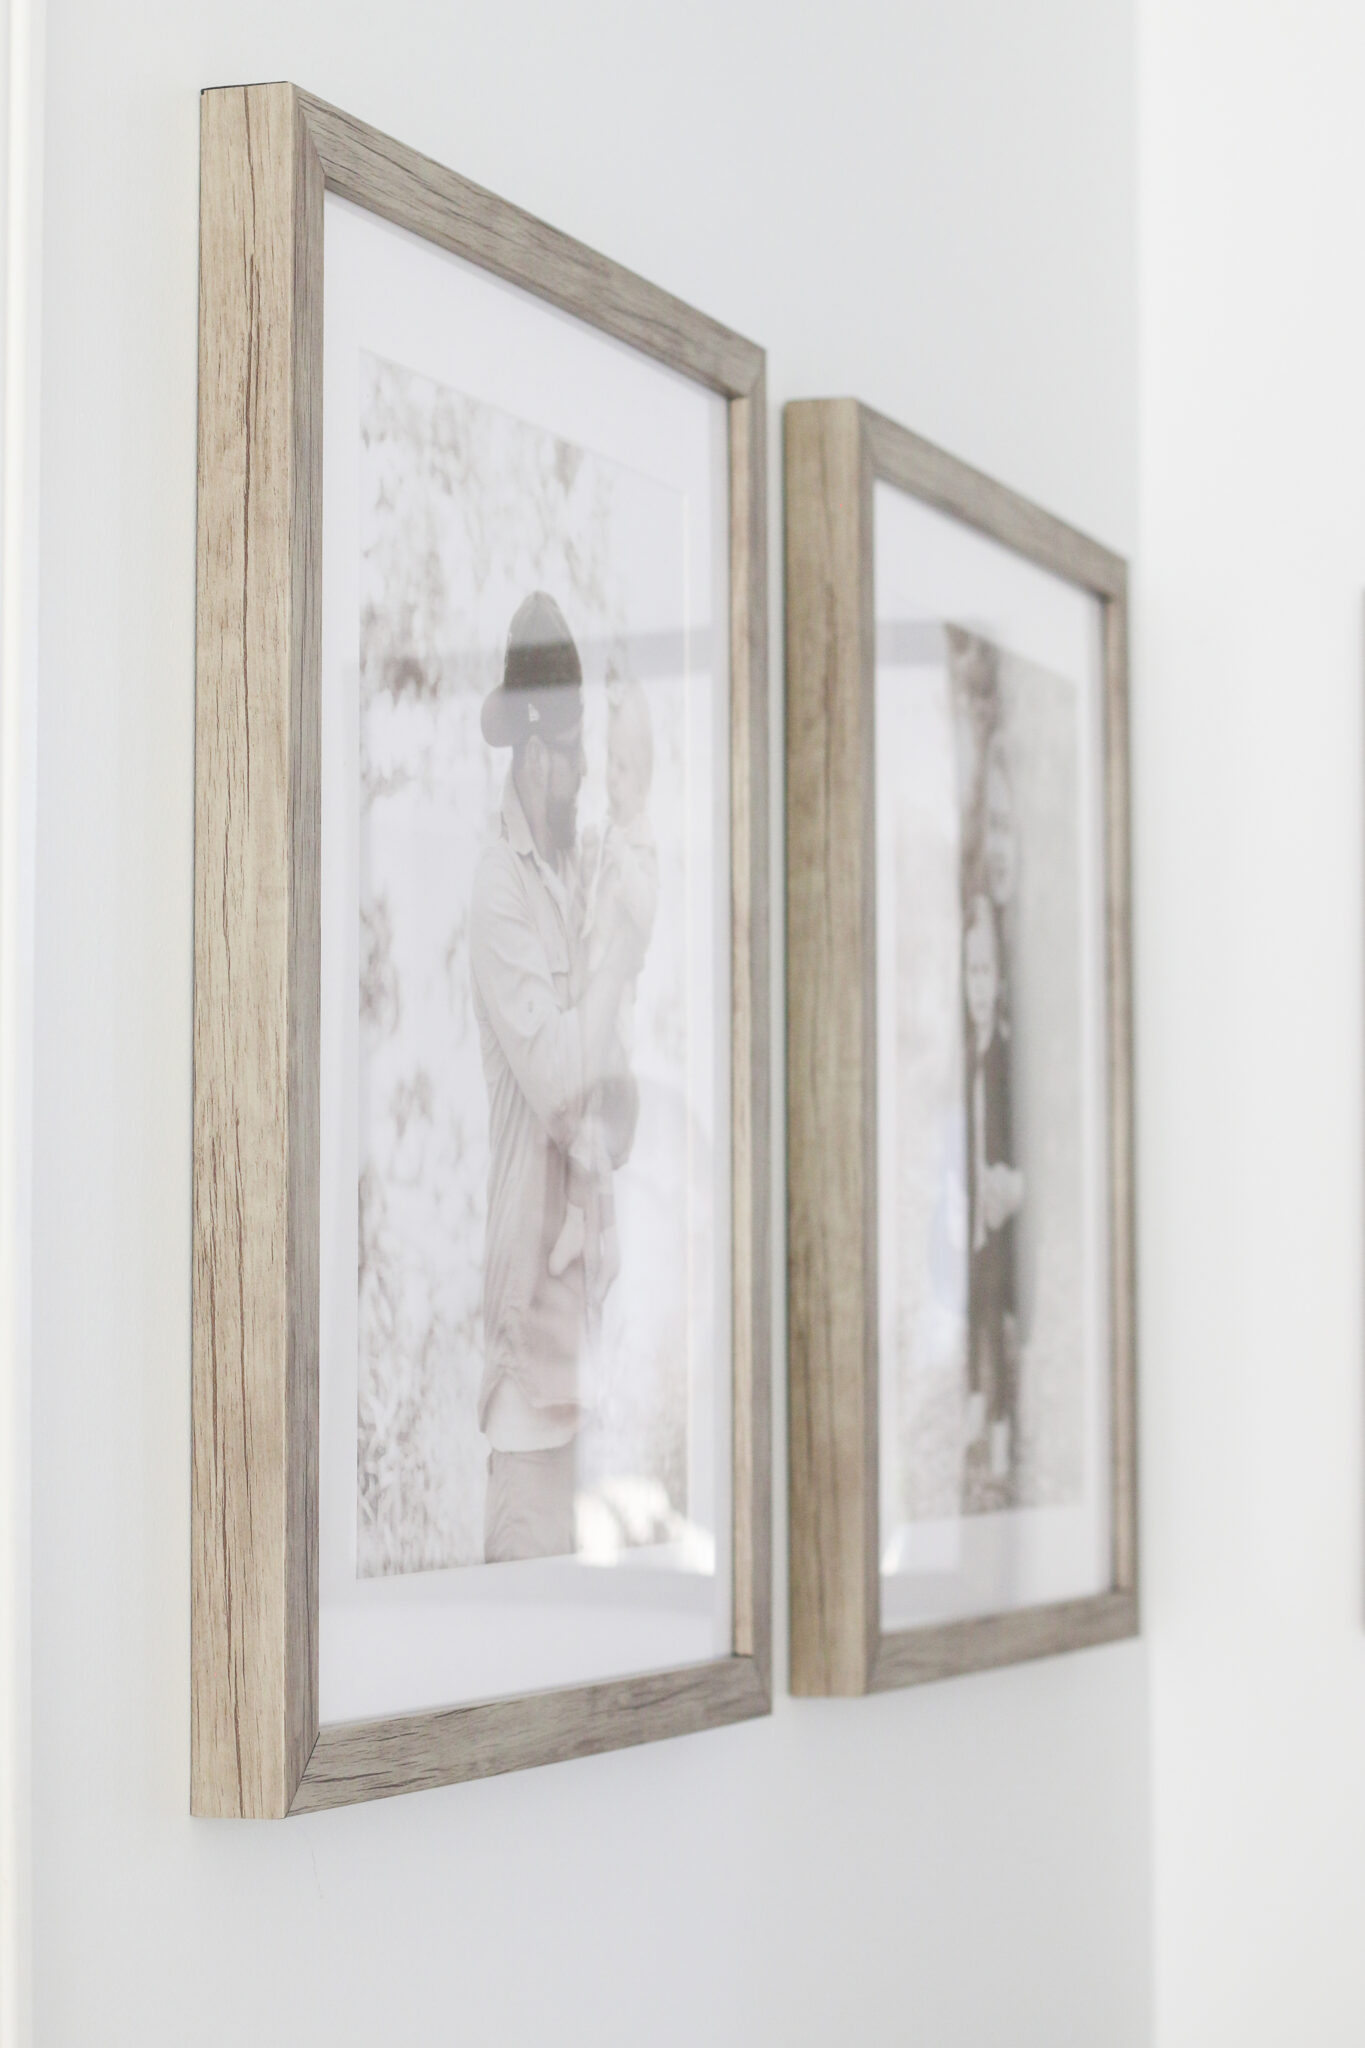
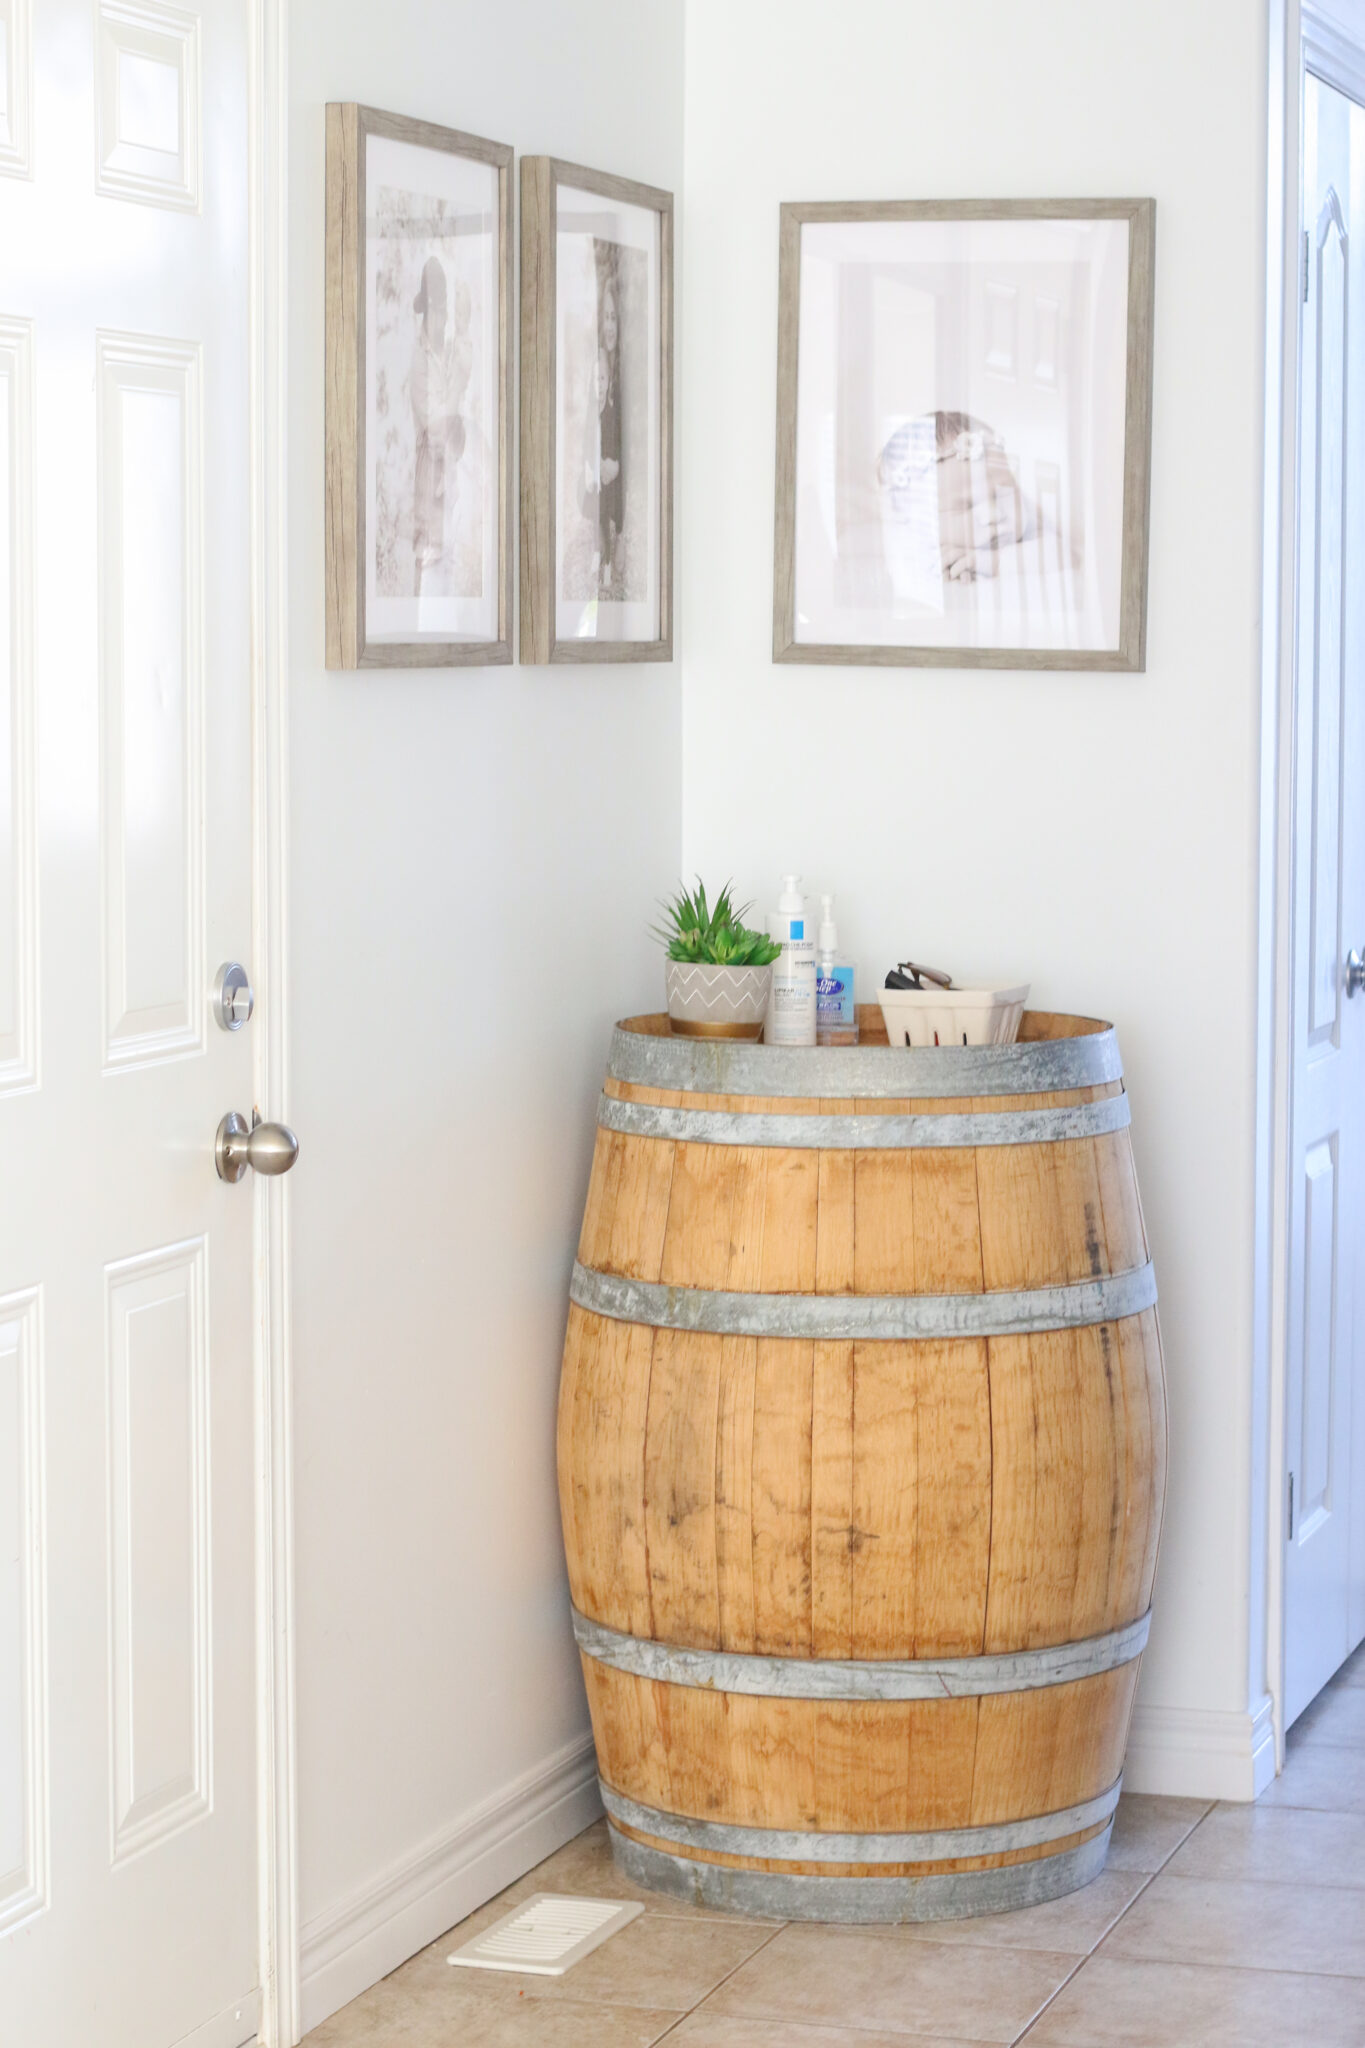
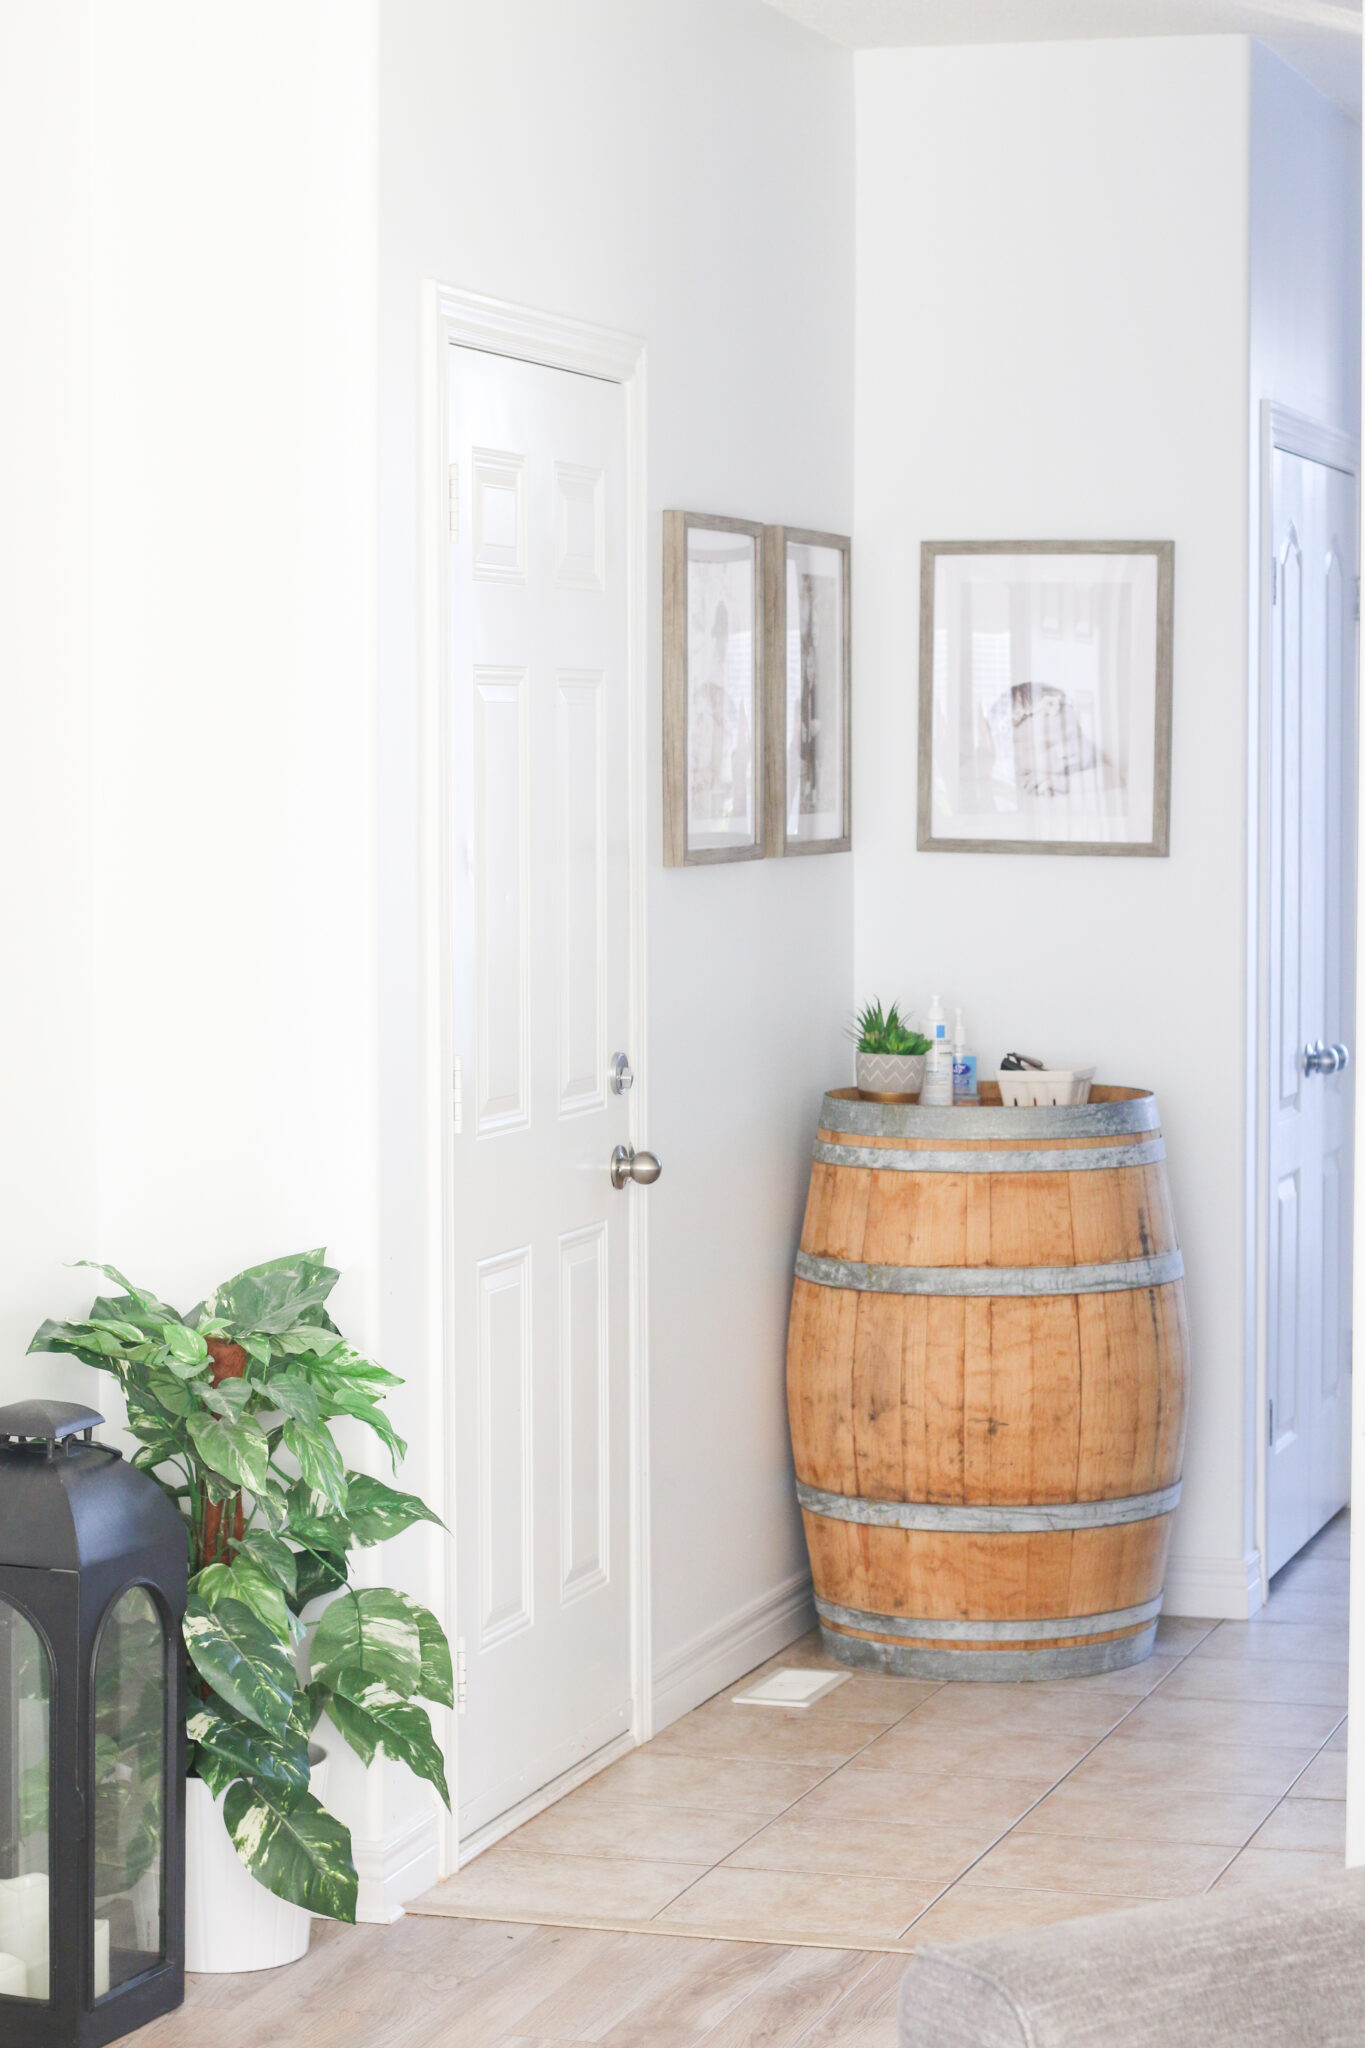
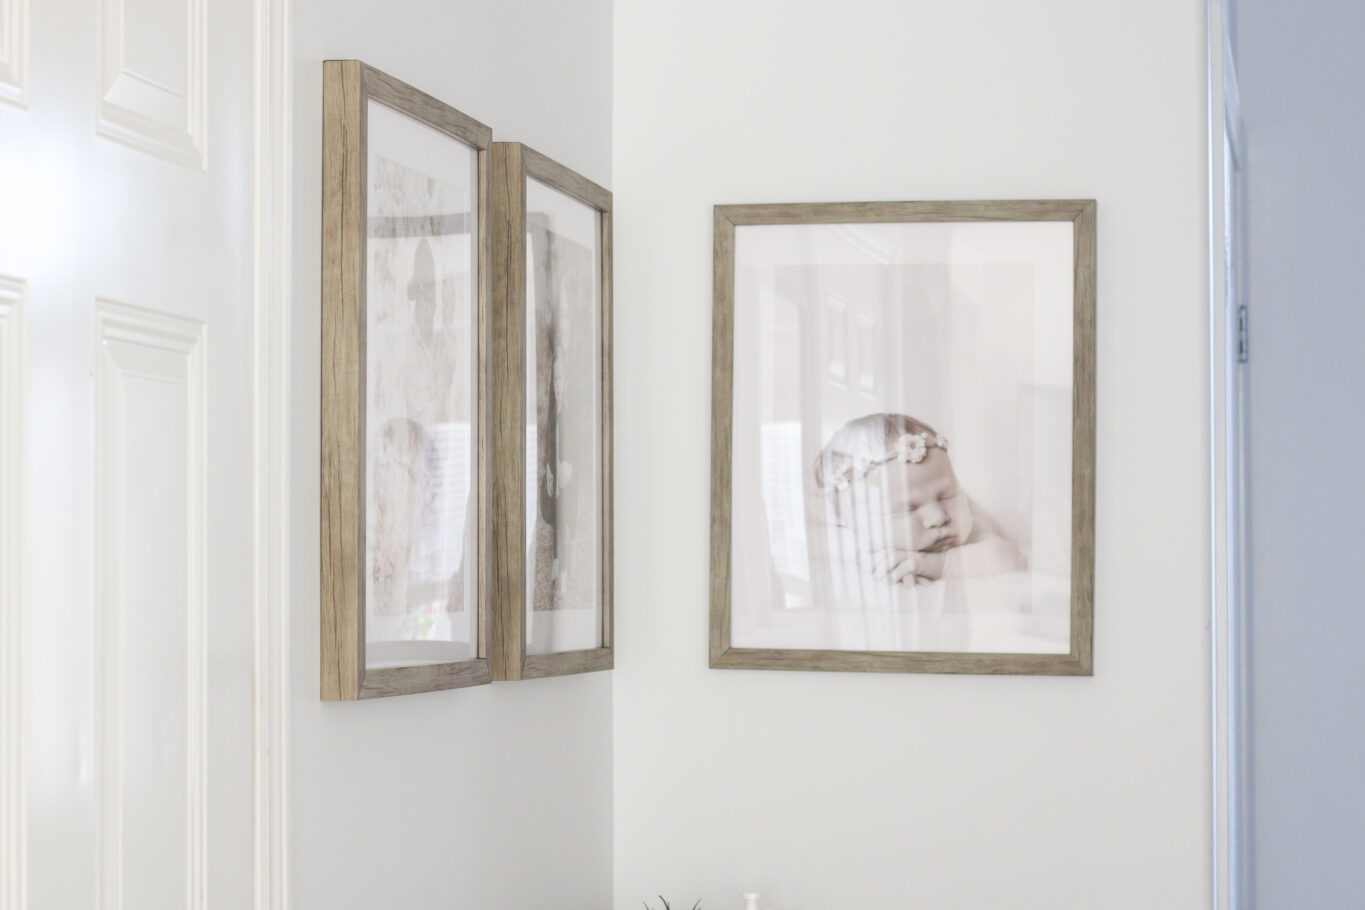
The hardest part of this whole process was trying to figure out which photos I wanted to print. We ended up going with a newborn photo of Everleigh and then an individual photo of A and I with her.
I LOVE how it turned out and am now trying to decide which photos to print next. See how our MIXPIX photos turned out on my TikTok.
How to Frame Your Photos Digitally
- Pick the type of photo prints you’d like from options such as framed photos, canvas prints and more.
- Upload your photos to the BestCanvas.ca website
- Pick your desired photo size (we did 16″ x 20″)
- Zoom into the photo if you’d like and adjust the layout
- Choose your frame type and colour (ours was Oak Vintage Flair)
- Choose whether to make the photo black & white or keep it normal
- Add to cart and done!
DISCOUNT CODE
NELLECREATIONS15 – Get an additional 15% off
See more of my home content here like our basement renovation.