
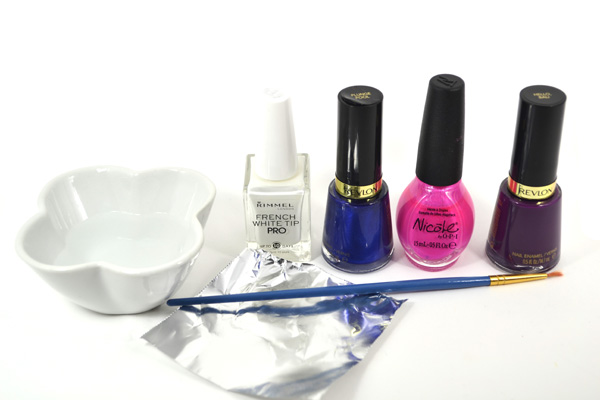
What You Need:
- 3-4 bright nail polishes
- 1 white polish
- Tin foil
- Small paint brush
- Small bowl of water
1. Use your white nail polish and paint a base. Two coats are best.
2. Take your first colour and brush a bit onto the tin foil.
3. Use the paintbrush and add water to the polish on the tin foil. This will dilute it making it more of a watercolour.
4. Using the paintbrush, randomly dab/brush the diluted polish onto your nails. Don’t worry about making it perfect.
5. Repeat with the rest of your colours.
6. Optional: Add a topcoat.
Polishes used in this tutorial:
- Nicole by OPI Still Into Pink
- Revlon Hello, Bali
- Revlon, Plunge Pool
- Rimmel London French White Tip Pro
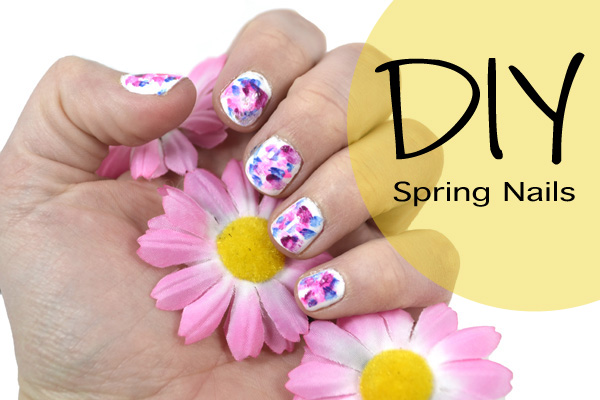
So cute!
Brilliant! I’m going to do this with my grandkids!